Wednesday, December 31, 2014

Merry Christmas and Happy New Year!


At the end of this year, and what a year it was, I just want to wish everyone a Merry Christmas and a Happy New Year.

I only wanted to use 2 colors to decorate these cookies,  white for peace and gold for wealth, maybe it would be a good omen! :)

You can check many of my sugar cookies recipes perfect to decorate!

http://dolcerita76.blogspot.com.es/2014/10/spicy-pumpkin-cookies-treat-for.html?m=1
http://dolcerita76.blogspot.com.es/2014/04/easter-chocolate-egg-cookies.html?m=1
http://dolcerita76.blogspot.com.es/2013/12/maple-and-spicy-fall-cookies.html?m=1


May 2015 bring you nothing but joy, good health, prosperity and lots and lots of good food and exquisite baking!


Tuesday, December 23, 2014

A Christmas chocolate treat from Switzerland: Brunsli


In my previous post I talked about the cookies I used to decorate the dried fruits Christmas cake. These are Swiss cookies that are usually baked during Christmas time. They are easy to make yet really delicious and perfect for this season whether you want to enjoy them with your loved ones or to wrap them in a beautiful package and gift them to friends and family.


It´s almost natural to think about Chocolate when you talk about Switzerland. It´s the land of the finest chocolate and renowned manufacturers, and it's no surprise that this wonderful product is the star ingredient of Brunsli cookies. They are also spiced with cinnamon, ginger and many other aromatic ingredients. You can use your own mix of spices that you usually use for baking and that complement the taste of chocolate.

I often bake cookies and gift them to my friends, and for Christmas I couldn't think of better than Brunsli cookies as a personalized gift! I am sure that they will appreciate this sweet gesture.


You will need the following ingredients to make many small cookies using a variety of molds. You should get around 30 pieces:
  • 100 g sugar
  • 200 g almond flour (or 100 g of hazelnut and 100 g of almond flour)
  • 25 g flour
  • 25 cocoa powder
  • 55 g egg white
  • 80 g melted chocolate
  • 15 g kirsh (sour cherry brandy) 
  • pinch of salt
  • 1 tsp cinnamon, and 1 tsp of different spices: ground star anise, cloves, nutmeg and freshly grated ginger

Combine all dry ingredients and process in a food processor until well combined. Transfer them into a big bowl.
Whip the egg white until foamy. With a spatula or using the paddle attachment combine the eggs with the dry ingredients. When well combined add the chocolate then the kirsh and mix until incorporated. 
Flatten the dough and shape it into a disk, wrap in  plastic and leave it in the fridge for at least 4 hours or over night.


When you are ready to roll the dough, sprinkle icing sugar over your working surface and roll it until it is 0.6 to 1 cm thick. Personally, I opted for a thinner dough. 
Cut the dough into the desired shapes, put the cookies over a tray covered with parchment paper and leave them to rest and dry slightly for about 15 to 20 minutes, un-refrigerated or covered. Meanwhile preheat the oven at the high temperature of 220 C (428 F), and after 20 min you can bake the cookies. Put the trays in the oven for only 2 minutes and not more as you want the cookies to be really chewy in the middle. 

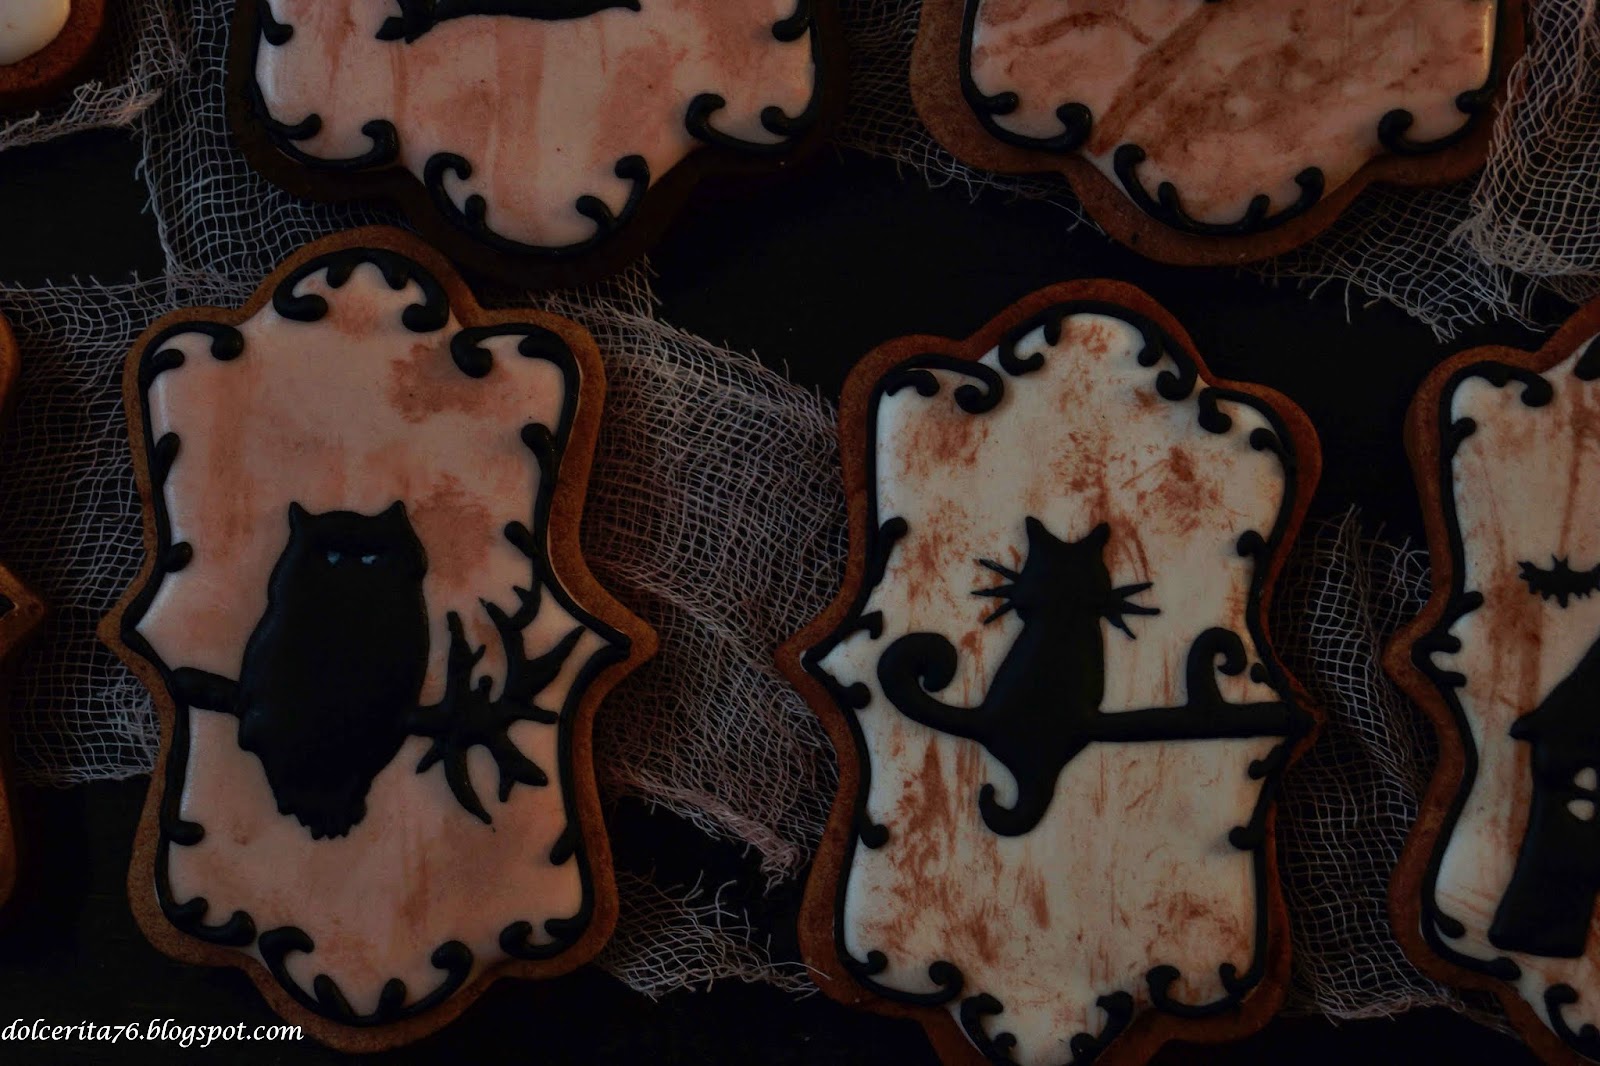
These cookies are delicious on their own but if you cut them using beautiful molds you can use them as decorative elements in festive cakes like I did with the dried fruits Christmas cake. If you are into cookie decoration using royal icing, fondant and more, these cookies form a wonderful base. 


All is left for me to say now is: MERRY CHRISTMAS to everybody and may your New Year be filled with love, peace and joy!

Sunday, December 14, 2014

Ultimate Dried Fruits and Nuts Christmas Cake!


What´s Christmas without cold weather, snowy mountains, decorated streets and houses, the hustle and bustle everywhere, the perfect gift hunting and of course the countless calories one packs from all the delicious season's food!!

I absolutely love how a couple of days before Christmas Eve everything is on speed drive, preparing as much food as you can beforehand and then what took days to prepare disappears in mere hours. Of course food is not what Christmas is all about, but nothing gathers families and loved ones more than good food bringing them together in joy and happiness. Of course, every copious Christmas meal should end with a sweet note and I am not the one to disagree with that!

Some cakes are typically associated with Christmas. In our family we usually prepare the Christmas Log cake (or Yule cake) and serve it at the end of our rather rich Christmas meal. However, this year I wanted to try something different and make a fruit cake that is also famous around Christmas time but not exclusively as it is made during weddings, baptisms and similar events. This cake has everything I love and I expect on Christmas: dried fruits, nuts, spices and alcohol.

I made some research to find the perfect recipe for the perfect Christmas fruit cake, but I eventually had to make some little tweaks and adjustments to suit my taste. I omitted raisins or sultanas, as I am not a big fan  and I replaced them with dried fruits that I preferred. Instead of feeding the cake with brandy, I prepared a spicy brandy syrup that elevated the cake to a whole new level.

Christmas or not this cake is a must try!


Now let´s start baking.
The list of ingredients is quite long, but its mostly ingredients within reach. The amounts listed here are ideal for a small 15 cm (6 inches) pan; adjust the amounts according to your pan. You will need:
  • 120 g soft butter
  • 100 g brown sugar (use muscovada or panela)
  • 150 flour, all purpose
  • 3 medium eggs at room temperature (between 53 to 63 g each)
  • 400 g of mixed dried fruits (I used cranberries, apricots, plums, cherries, blueberries)
  • 120 g mixed nuts (walnuts, hazelnuts, pecans and almonds) chopped and lightly toasted
  • 55 g candied orange peel
  • 1 tsp cinnamon and 1 tsp mixed spices. I used, cloves, allspice, crushed coriander seeds, star anise and nutmeg.
  • 1/4 tsp baking soda
  • the zest of an orange
  • dash of salt

For the brandy syrup:
  • 80 ml orange juice
  • 50 g sugar
  • 50 ml of brandy
  • Mixed spices. I used the same I put in the batter. You will need : 2 cloves, 1 star anise, 2 allspice berries, a small piece of nutmeg, half a cinnamon stick and 2 orange peels and few coriander seeds)
First, chop the dried fruits into small pieces and soak them in 80 ml of brandy and 80 ml of orange juice. This needs to be done one day in advance to allow all of the flavors to marry.

On the next day, mix the flour with the spices, the rest of the dry ingredients, and set aside.

With a spatula or wooden spoon, cream the sugar and butter. Then add all of the eggs along with the orange zest and mix till well incorporated.

Fold in the flour, once well combined add the dried fruits, peels and nuts with any left juice and mix till they are distributed evenly throughout the batter.


Pour the batter in an 15 cm tin, covered with parchment paper. Line the paper so it is higher than the rim of the tin; this helps the top of the cake from drying too quickly in the long baking process.
Bake the cake in a preheated oven (140 C/285 F) for 2 to 2 1/2 hours. After 2 hours insert a toothpick into the middle of the cake, if it comes out clean then the cake is done. Set it aside to cool.

When completely cooled, cover and place it in airtight container. You can start feeding the cake as of the next day. Feeding means that you prick the cake with a fork or better with a long thin toothpick to create small holes that allow the brandy to soak in the cake. Then you "feed" the cake with brandy by putting some liquor on top and waiting till it is completely absorbed. That's the traditional process, however, I tried something different and created a sweet spicy brandy syrup that adds more flavor than brandy.

To make the syrup, just combine all the ingredients but the brandy and let them simmer on a low heat. Once the sugar is completely dissolved  and the mix is simmering gently add the brandy let it simmer for few seconds and turn off the heat.


With the cooled syrup, I started feeding the cake. I fed it for just 2 days.  Usually the process is repeated over a longer period, but two days are enough for an outstanding result.  Any left over syrup can be served as a drizzle over the piece of cake.

You can make that cake months earlier, if you are able to provide optimal storage conditions. But I wouldn't have the patience to prepare a week or two in advance without sampling it as I don't have a high level of self-restraint when it comes to food!


You can decorate this cake in many ways. Sometimes using just a holy leaf is enough. You can cover it with marzipan and add some decorating elements if you you want to do more. I accompanied the cake with decorated brunsli cookies, a recipe I will share soon.

I will be making this cake soon as it is quite a delicacy. Sure enough it is not the easiest cake out there, it requires lots of ingredients, some planning ahead and quite some time to finish all the needed steps but it is well worth it.

Christmas is right around the corner, gift yourself and your loved ones this scrumptious fruit cake. 

Thursday, December 4, 2014

White chocolate and cranberry blondies!

It's Christmas season already! I know it's hard to believe, but time flies by and why should anyone complain? Christmas time is my favorite season of the year.

Culturally, there are certain colors, aromas and ingredients that we typically associate with Christmas. Cranberries are one of those ingredients that have the colors and spirit of Christmas.

Usually, I find dried cranberries everywhere but the fresh ones start appearing in late November. I buy them whenever I find a small box filled with those lovely jewels. I rarely eat them fresh as I believe  it´s when cooked or used in baking that their taste goes to another level.

I like to use them with white chocolate, their strong tangy flavor pairs to perfection with the sweetness of the white chocolate. I personally don´t like sweets that are too sweet but I do like white chocolate and whenever I bake it I try to use a sour ingredient, usually a fruit, to have a more balanced and enjoyable flavor.


To feature these two wonderful ingredients,  I used them  in a blondies recipe, the whiter version of one of the most popular and delicious desserts: the brownies. The end result was blondies that were just as delicious as their brownies cousins, perhaps even more.

For this recipe you need (18 x 18 cm pan):
  • 80 g fresh cranberries (you can use dry ones but they won´t give the tangy flavor as the fresh ones)
  • 100 g butter
  • 120 g flour
  • 1/4 tsp of salt and another 1/4 tsp of baking soda
  • 1 egg
  • 100 brown sugar (for optimum results use dark brown sugar, I used panela)
  • 1 tsp vanilla extract
  • 100 g chopped chocolate (small chunks)

First start by combining the flour with the salt and baking soda.

Melt the butter in a sauce pan; you want to melt the butter and not to heat it, just warm it.  Add  the butter to the sugar  and whisk until well combined.
Now add the egg and the vanilla extract and mix well again.
Slowly fold in the flour. Finally, mix in in the chocolate and the cranberries.

Pour the batter in a pan (previously lined with baking paper), and bake them in a preheated oven (180 C; 350 F) for about 20 to 25 min, or until the edges and the top have a golden brown color.


Give this recipe a try and believe me  you will not regret it, it´s just out of this world but beware it might become really addictive!

Wednesday, November 26, 2014

Cinnamon and orange scented pound cake

Pound cakes must be the easiest cakes to make; with just four key ingredients you have a delightful, tasty and reliable recipe. I have been making pound cakes forever and of course I always add new twist to the base so I don´t get bored.
Now that is colder in Madrid, the pound cakes I make need to have deep warm flavor that suit this weather perfectly. 


I mentioned in previous posts that I love to go on weekends to Madrid's countryside and walk in its forests and explore its charming villages. I usually take some snacks with me as I know I will get hungry and need something to keep me going. On my last visit, I wanted to have a small picnic time, even though it is even colder in the countryside, so I made a heart-warming cake for the occasion.


Thinking of the ingredients that would transform the plain vanilla pound cake wasn't a difficult task. As I am a cinnamon-o-holic, I had to use it to give that depth of flavor and warmth and to complement and freshen up that flavor what better than orange zest? I also added some chooclate drops to round the flavor and give even more depth. Finally, for added texture, I made a nutty, buttery and spicy streusel topping. Heavenly combination.

Now let´s start baking:
For the cake (one small loaf tin)
  • 1 large egg room temperature
  • 60 g sugar
  • 60 g soft butter
  • 60 g flour
  • 2 g baking powder or 1/2 tsp
  • the zest of a small orange
  • 1 tsp cinnamon
  • 20 g chocolate drops
  • dash of salt
For the streusel:
  • 14 g flour
  • 7 g butter
  • 7 g brown sugar
  • 1/2 tsp cinnamon
  • 20 g chopped walnuts

First mix the flour, baking powder and salt and set aside. Cream the butter with sugar, cinnamon and orange zest, I do it by hand using a rubber spatula, you can use an electric mixer but I don´t bother, especially when it's only a small quantity. When well combined add the egg and mix well. Fold in  the flour mixture and lastly the chocolate drops.
Quickly prepare the streusel by mixing all the ingredients save for the walnuts. Use the tip of your fingers or a fork to incorporate the butter into the dry ingredients. When well combined add the walnuts. 
Sprinkle the streusel on the top of the batter and bake for about 25 to 30 min in a preheated oven (180 C or 350 F).

That mini cake made that day warm despite of the cold and the snow in the high mountains nearby. The day was perfect, the cake was just right and the colors of the surrounding nature were outstanding. The only downside was the windy weather which made the cold feel even colder. I had to quickly wrap up and head back to Madrid enjoying the good time spent there and the few pictures I managed to take before my hands froze, but it was worth it!

Wednesday, November 19, 2014

Chocolate and buttermilk cake with creamcheese and dulce de leche frosting


I have declared my love for autumn so many times on this blog, and I will do it again and again! This year autumn made a late appearance in Madrid but it´s finally here! Rain, cold weather, falling leaves, time for soups and comfort food; now what´s more comforting than chocolate?
My cupboards are full of chocolate: dark, milk, white and all sorts of chocolate combinations!


Buttermilk is another ingredient that I really love, it gives baking goods such a light and wonderful texture, so this time I decided to use chocolate and buttermilk in a cake and the result was wonderful, just as I wanted.


The cake has a deep chocolate flavor and on a textural level it is crumbly, fluffy and soft. It could be enjoyed simply with some dusting sugar or cocoa powder or you can spice it up and add some whipped cream or some frosting and that´s what I did.

I have a jar of dulce de leche that has been sitting around in the cupboard for a couple of months and it was the time to use it along with my go-to choice of frosting: cream cheese.

So these are the basic ingredients and inspirations behind this cake.


For the cake you need (makes 4  layers using 13 cm pans but I only used 3 layers):
  • 2 eggs room temperature
  • 100 g melted butter
  • 105 g melted dark chocolate (I used 70%)
  • 130 g brown sugar, (I have been using panela sugar lately)
  • 120 g flour
  • 5 g of baking power and 2 g of baking soda
  • 1 tsp vanilla extract
  • 1 tsp coffee liqueur (optional)
  • 20 g cocoa powder
  • 145 g buttermilk
  • dash of salt 

For the frosting:
  • 250 g cream cheese room temperature
  • 100 g soft butter
  • 50 g brown sugar
  • 100 g dulce de leche
  • 1 tsp vanilla extract or paste


For the sponge cake, first combine all the dry ingredient, mix well and set aside. Beat the eggs with the vanilla and slowly start adding the sugar. Keep beating until the egg mixture doubles in volume and becomes rather thick, then add  the coffee liqueur if you decided to use it. 

Add the chocolate and mix at low speed. Turn off the mixer. Add the butter and mix at low speed, till well combined, fold in the flour mixture using a spatula, then slowly mix the buttermilk, again using a spatula.

Pour the batter into 4 greased and lined pans (about 13 cm) bake in a preheated oven (180 C) for about 20 min. 

If you don't have enough pans, you can prepare enough batter for 2 pans (split the ingredients by two) and then while the first batch is baking prepare the second one for baking. 


Take the cakes out of the oven and let them cool. You can make the cake a day or 2 in advance and then frost them on the day the cake will be served. 

To make the frosting, start mixing the butter and cream cheese, when well combined add the rest of the ingredients and beat till fluffy and lighter in color! Make sure the butter and cream cheese are at room temperature when you want to make this frosting, otherwise the ingredients will never mix well and the frosting will be very lumpy. 


To assemble, just smear some dulce de leche onto  each of the cake layers. Follow with a healthy dose of cream cheese frosting. Decorate the top layer as you like. Make it as simple or as elaborate as you wish! Enjoy!


Wednesday, October 29, 2014

Spicy Pumpkin Cookies, a Treat for Halloween


Pumpkins are now officially a culinary obsession of mine. Although nowadays it's readily available your long, it's mostly in autumn that I like to buy it every time I go food shopping. 
Once home, I roast pumpkins and divide them into small portions. I use what I need and freeze the rest for later. Roasting pumpkins really brings out their natural sweetness and imparts a delicate smoky flavor to their flesh. I puree the roasted pumpkin and use them in as much recipes as possible. 


This time, I wanted to use pumpkin in a sweet treat specially made for Halloween. The pumpkin flavored sugar cookies will be decorated and themed to fit for this special holiday, I love decorating cookies but I don't always have the time to do so, this occasion gave me enough motivation to get back to do what I really enjoy doing. 


Getting the cookie the perfect shape to be iced and decorated is really a tricky job, especially if you want to modify the ingredients of the basic sugar cookies, which I intended to do! 

I headed to the kitchen and played around with the basic recipe and luckiIy I got the texture and taste that I wanted. The addition of the pumpkin created a whole new flavor dimension to the cookies and even if you don't want to decorate them, trust me, you will enjoy their taste and I can guarantee that your home will be filled with an enchanting and festive aroma for the whole day!  

Let's get baking!


For the cookies you need:
  • 440 g flour
  • 160 to 180 g panela sugar (I used 160, 180 if you´re not decorating with royal icing)
  • 6 tsps of cocoa powder
  • 1/4 tsp of ground cloves, 1/4 tsp ground star anise, 1/4 tsp grated nutmeg
  • 1/2 to 1 tsp of ground cinnamon (to your liking)
  • dash of salt
  • 180 g  of butter, room temperature
  • 1 egg at room temperature (you need a small egg or 50 g of a larger one)
  • 60 g roasted pumpkin purée
Start by sifting the flour, cocoa powder, spices and salt and set aside. 
With a paddle attachment (if you don´t have one use whisks) beat the butter for a minute, add the sugar and the pumpkin purée, beat for 2 or 3 min until well combined. Add the egg and beat again for just a couple of minutes.

Add the flour mixture, and mix just a little bit at a low speed and stop even if not all the flour is combined. Drop the dough over a clean working surface and gently knead until the dough comes together.

Form your well combined dough into a 2 cm (just over 3/4 of an inch) thick rectangle  and wrap it with plastic film or put in a ziplock bag and leave in the fridge for at least 4 hours or over night.

Cut your cookies using the shapes and molds you like and bake them for about 10 to 15 min in a preheated oven (180). The baking time will depend on the thickness and the size of the cookies! Keep an eye on them and bake them until the edge is slightly golden. 


If you want to decorate these cookies in a more elaborate way then follow the steps I explained in the chocolate cookies post I made for Easter!

For this occasion, I opted for a simpler decoration, I pipped the silhouettes with  royal icing and added black filigree on the edges for a dramatic finish. To give the iced cookies a vintage and darker look I used cocoa powder brushed gently over the surface of the iced cookies.  

Happy Halloween everybody!

Thursday, October 23, 2014

Wild Blackberries Pie


Madrid is just beautiful in Autumn, the weather is perfect, the colors of the city start changing to offer  beautiful scenes throughout its streets and especially in its numerous parks. To top that, just few kilometers outside of Madrid you can explore the most amazing villages and mountains dotted with beautiful forests, rolling hills and much more. Pines, oaks, chestnuts  are some of the many trees you would find there, even more, scattered throughout these villages and forests you find lovely blackberry bushes. Blackberries are not only beautiful to look at but they have a unique acid flavor that's quite addictive. Picking them from the wild brings back many of my favorite childhood memories.


Not far from Madrid there's a small village by the name of Rascafria. Blackberries there seem to ripen later in the season and I couldn't pick any fruits until the first week of October. The first batches I picked were consumed fresh, as they were pretty hard to resist, however, I picked some more to use in a delicious and easy to make pie.


To make this pie you need a really nice and flaky pie dough and two main ingredients for the filling, that's it!
If you're feeling lazy or don't have enough time, you can buy a ready-made pie crust, but make sure that it is made with butter! However, once you master the art of making a good flaky pie crust you can never be satisfied with bought ones. Often, I make more dough than I need and I freeze the rest to be used later on.

For the crust you need
  • 400 g flour
  • 220 g very cold butter, cubed
  • 2 tbsp sugar
  • A pinch of salt
  • Ice water, between 4 to 6 tbsp   
To get a flaky and delicious crust you need to work with  ingredients that are really cold. I start by mixing the dry ingredients in the food processor and place the container in the freezer for about 20 to 30 minutes. You can omit this step, I have done so in the past and have gotten very good results, but it is worth the time investment as the dough will be even more crumbly and flaky when all ingredients are cold. Meanwhile, prepare the butter by cutting it into small cubes and then freeze them until they are very firm.
I then take out my ingredients from the freezer, add the butter to the flour mix and pulse for about 30 sec to one min maximum. Then I add the icy cold water, one tbsp at a time. This is where you need to be careful not to add too much water and not to overwork your dough. Once the dough just barely comes together stop mixing. It is acceptable if the dough does not come together in a single ball, that's not the aim.
Now, line a clean working surface with cling film (or aluminum foil if you prefer), remove the dough from the food processor onto the cling film. Work the dough slightly with your hands so it comes together and shape it into a disk. Cover it with the cling film and place it in the fridge for at least an hour. It is better if you prepare the dough one day ahead, which is what I usually do.
The amount of water that you will add depends on the quality of the flour and the water contained in the butter. Don't be tempted to put more water as the dough might seem dry at first, but when it rests in the fridge, it comes together nicely and the butter is absorbed  by the flour.


Now that you have the dough, it's time to prepare the filling and for it you need:
  • 300 g wild blackberries (or any other berries you prefer)
  • 60 g sugar (I don't like the filling to be too sweet, but if you want it to be sweeter, add more sugar)
  • The seeds of a vanilla pod or 1 tsp of vanilla extract
  • a dash of cinnamon (optional)
  • Cream and sugar for the top
Once you have all your ingredients ready, just mix together and you're done, the filling is ready to be poured into the pie shell.

Remove the pie dough from the fridge 10 to 15 min before you start working with it. Cut it into two portions, with a bigger one for the base and a smaller portion for the top. Roll out the base portion out until it's 6mm thick and it's big enough to cover the pie pan. Pour the fruit mix into the pan.

For the top layer, you can roll it into one single layer or you can get creative and create a lace effect like I did and cut some pie into nice leaf shape. Whatever design you might do, don't forget to leave enough room for the steam from the cooking fruits to escape or else the pie would be too wet.

Finally, brush the crust  with cream then sprinkle with sugar for  extra crunch!

Bake the pie in a preheated oven (180) for at least 40 minutes. Note that the top will bake faster than the bottom of the pie that's why cover the top with aluminium foil, and remove it after 20 to 30 min
of baking.

Serve the pie with some whipped cream and a sprinkle of cinnamon! Enjoy!